Tuesday, October 20, 2026

Vintage Santa Felt

Thanks for stopping by! I've rediscovered sewing recently and am excited to share a sweet ornament I made with the Spellbinders Vintage Santa! This one really came together quick. The hardest part was deciding on the colors and cutting out the pieces.
You use your die cut machine to cut felt, paper, faux leather or other flat material and then stitch as you like. The die even cuts the stitch holes to help you have perfectly even stitches and stay inside the lines. You should use a good quality (heavy) felt when you use the dies because the felt tears easily along the edges where the pierced stitch holes are.

I cheated a little bit to make it even easier and here's how.. I used glue to hold the buttons in place before adding the stitching. I glued on the eyebrows, nose and google eyes. The mustache is glued in place after the stitching was added to the felt piece.
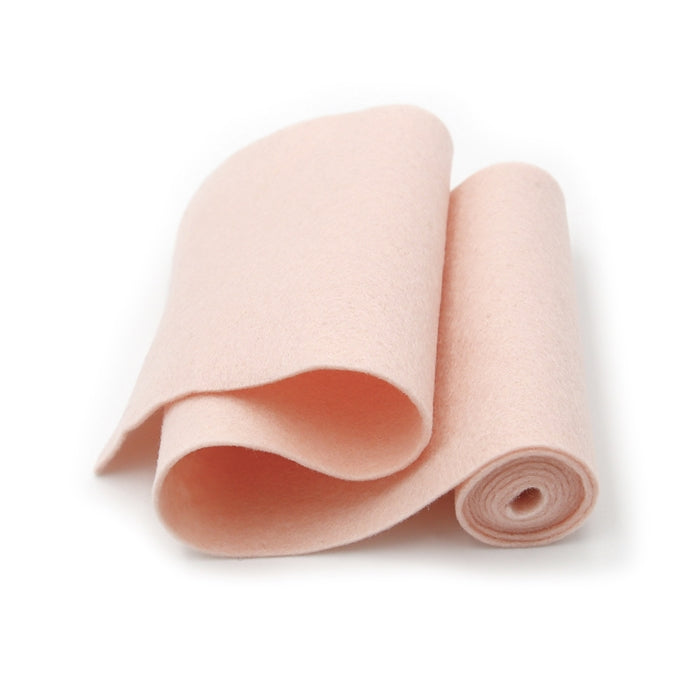
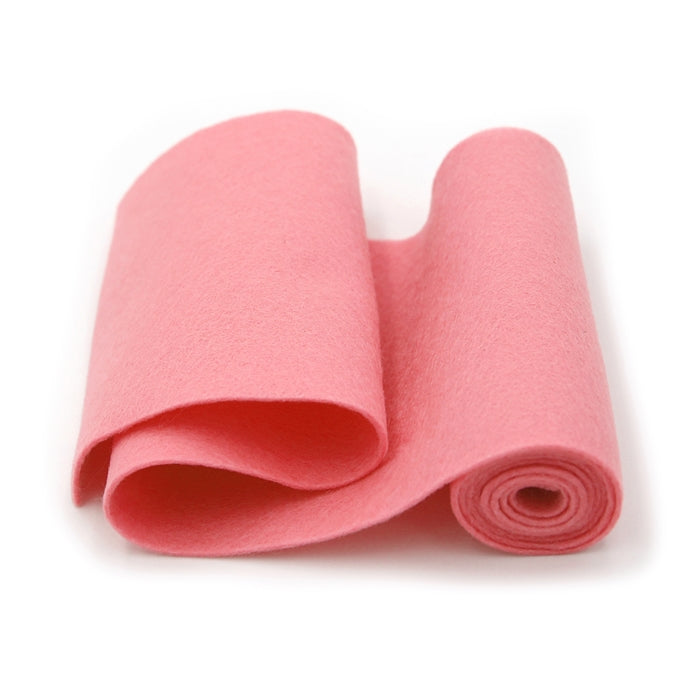
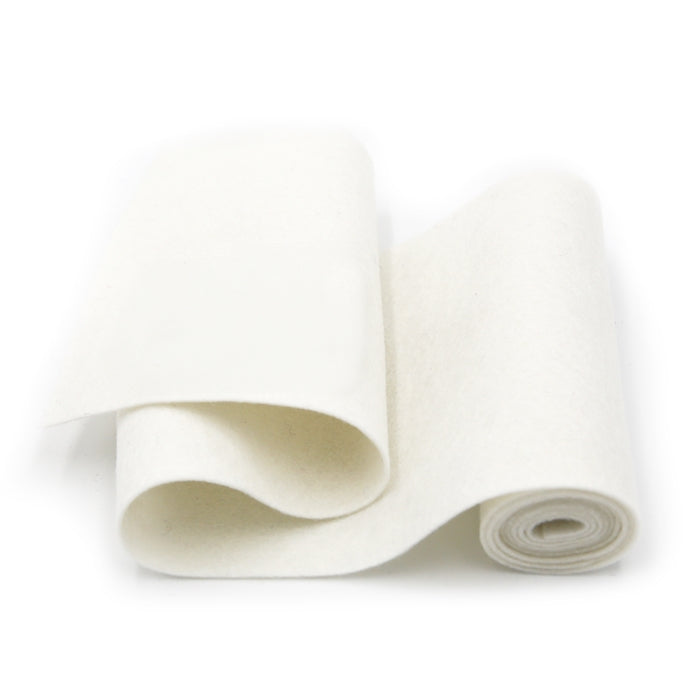
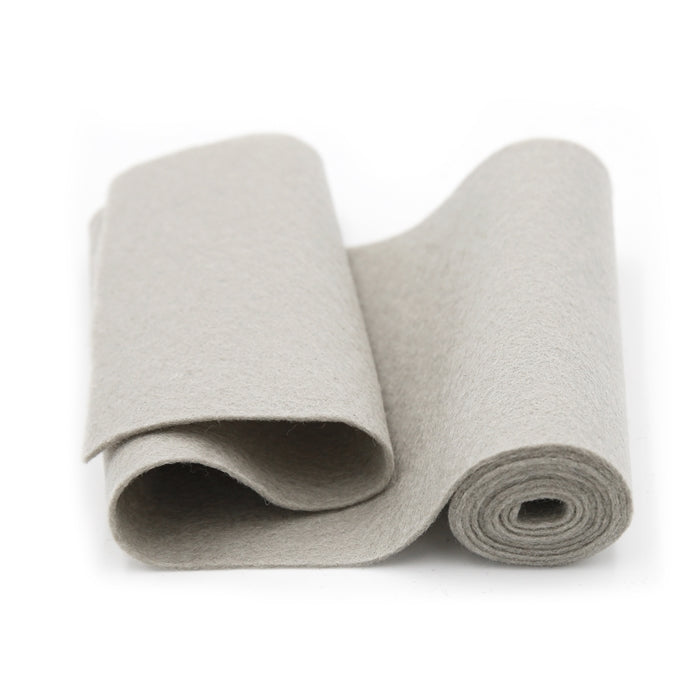
I used felt from the Felt Pod, and DMC floss three strands in colors that coordinated with the felt colors.
I hot glued magnets on the back of my Santa so I can dress up the fridge or the file cabinet in my craft space with my felt masterpiece!


Dies | Spellbinders Felt Vintage Santa
Thread | DMC
Felt | The Felt Pod

SPB = Spellbinders
SCB = Scrapbook Dot Com
SSS = Simon Says Stamp
FP = Felt Pod

Affiliate links are used to REDIRECT you to the store site of your choice to view or purchase items.
Felt Festive Trees
Felt Festive Trees
Shop at:
SPB | SCB | SSS
Felt Vintage Santa
Felt Vintage Santa
Shop at:
SPB | SCB | SSS
Felt Winter Cardinal
Shop at:
SPB | SCB | SSS
Affiliate links are used
Baby Pink
Baby Pink
Shop at:
FP
Neon Pink
Neon Pink
Shop at:
FP
Red
Red
Shop at:
FP
Willow
Willow
Shop at:
FP
Moss
Moss
Shop at:
FP
White
White
Shop at:
FP
Cement
Cement
Shop at:
FP

Monday, October 19, 2026

Ghostly Greetings!

Thanks for stopping by! I hope you had a great weekend. We're still adding some final touches to the Halloween decorations around the house. This year I went a little over the top and suddenly we have a Halloween tree!
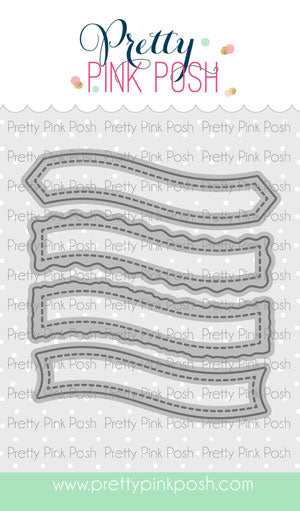
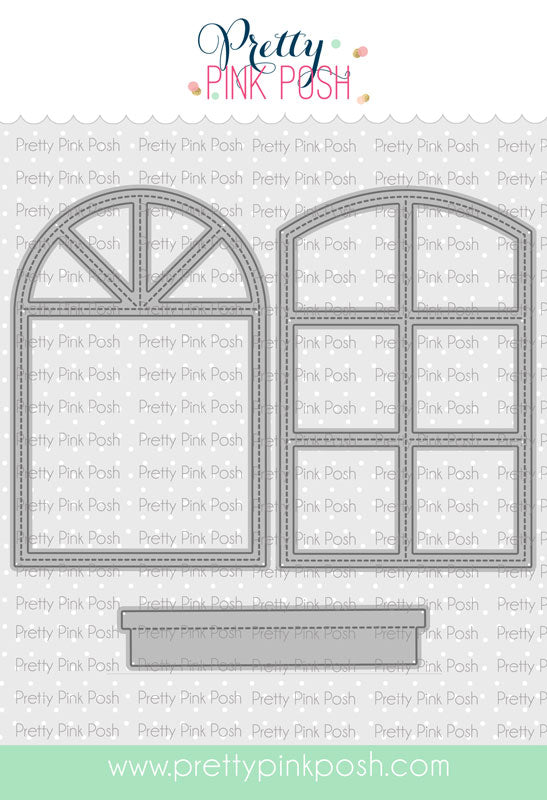
My card started with the Pretty Pink Posh Stitched Window die. I layered it over some Stitched Strips that I wanted to look like siding.
I cut the window openings from scraps of colored cardstock and inlayed them in the open windows.
I left the ghosts mainly un colored - just a touch of blush on the cheeks and a pop of color on their accessories. They're adhered with adhesive foam tape so they look like they're floating. I left the "boo!" sentiments hanging like word bubbles too!
The finishing touch was the Halloween Banner Greeting and a sprinkle of colorful gems.

I'm linking up to Two Old Bats Halloween Challenge where it's always Halloween!

I hope you get a chance to get out and see all the Halloween decorations or make it out to the farm stand! Hugs!


Finished Size: 4.25 x 5.5"
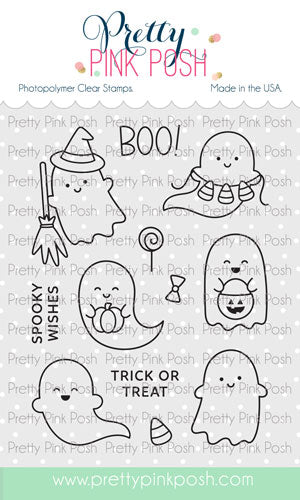
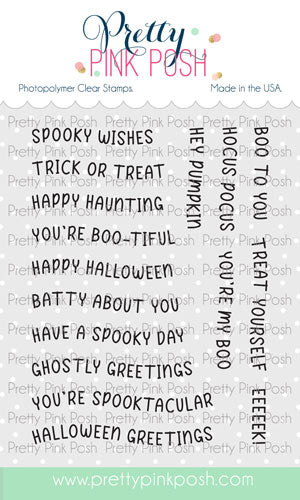
Stamps | Pretty Pink Posh Mini Ghost, Halloween Banner Greetings
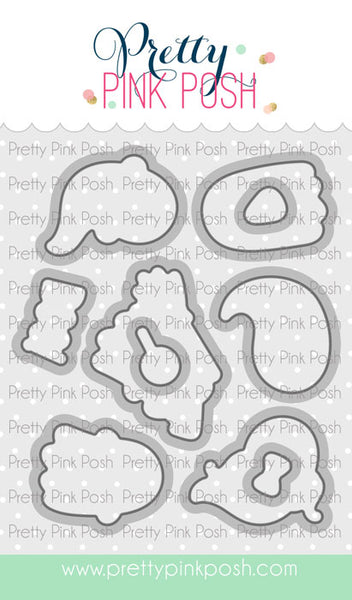
Dies | Pretty Pink Posh Mini Ghost, Banner Greetings 4, Stitched Strips, Stitched Windows

PPP = Pretty Pink Posh
SSS = Simon Says Stamp
SCB = Scrapbook Dot Com

Affiliate links are used to REDIRECT you to the store site of your choice to view or purchase items.

Mini Ghost
Mini Ghost

PPP | SSS | SCB
Mini Ghost
Mini Ghost

PPP | SSS | SCB
Halloween Banner
Halloween Banner

PPP | SSS | SCB
Banner Greetings 4
Banner Greetings 4

PPP | SSS | SCB
Stitched Strips
Stitched Strips

PPP | SSS | SCB
Stitched Windows
Stitched Windows

PPP | SSS | SCB

Sunday, October 18, 2026

Buzzy Pup Bee

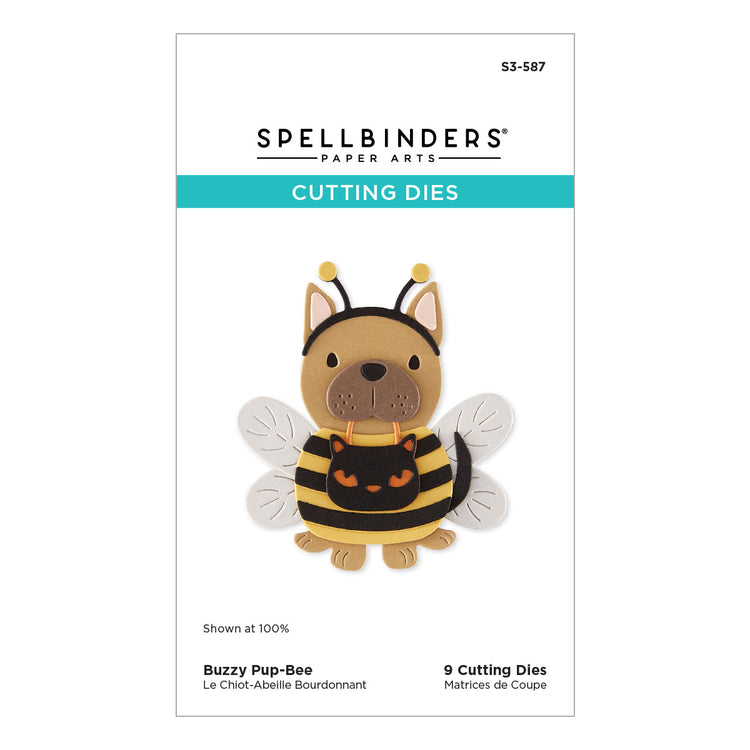
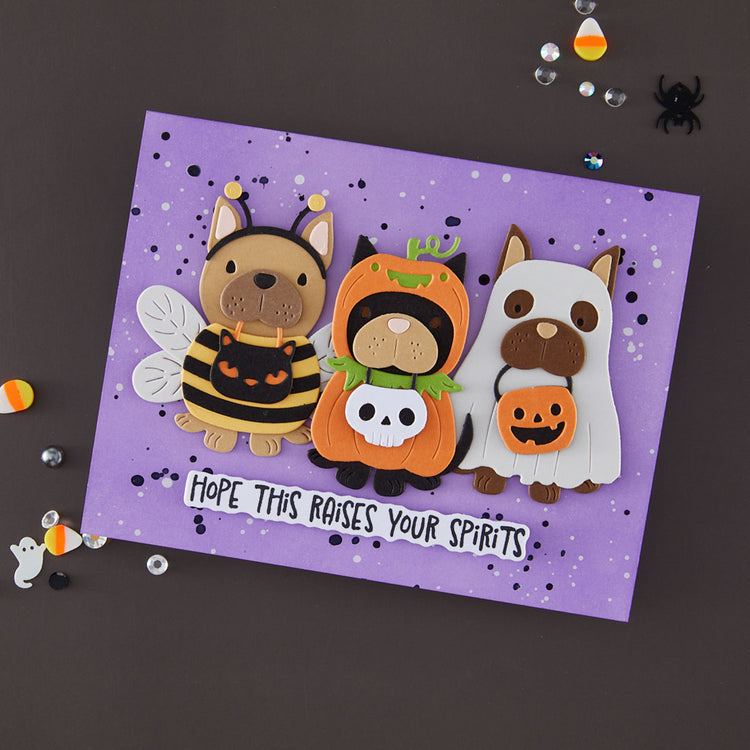
I hope you're having a great day! This one is a special make for a 4 year old bumble bee in my life who has stolen my heart.. my grand daughter! She LOVES bees! So when I saw the Spellbinders Buzz Pup Bee I had to have it!
The little dog in costume was easy to assemble. I just die cut the pieces and then adhered them. I love that I could customize the dog to any color I like. I went with brown to look like my girls dogs.
The sentiment is from a Betterpress Halloween plate set called Halloween Icons. I love the Betterpress sentiment sets. You just ink, press, and cut. Many of the sets cut multiple sentiments at one time.
I created color block background with the Scallop and Stitch Edge Ovals die set. This is a nested oval set with alternating stitched and solid oval shapes. I love the clean look of this one that lets the pup take center stage.

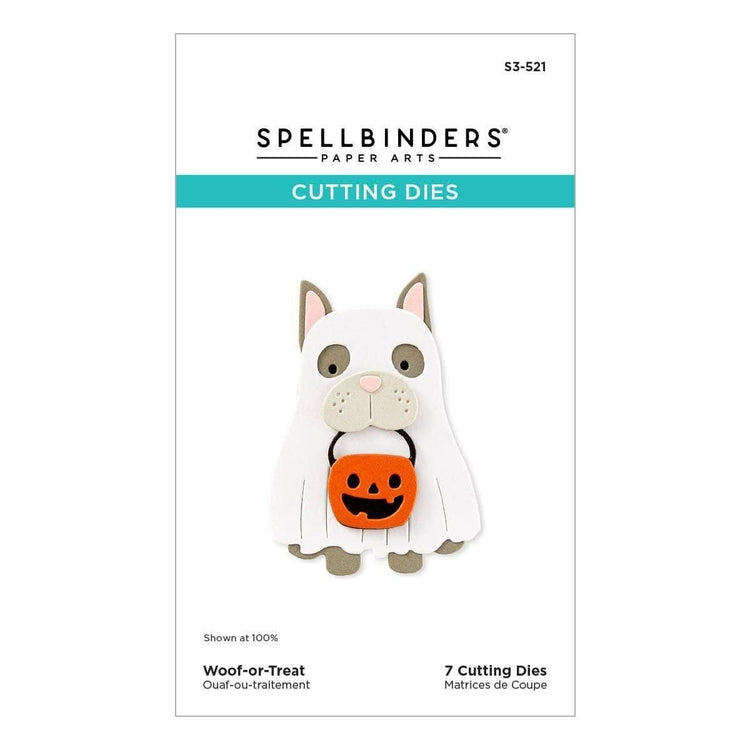
There are actually three of these Halloween pups. Only two are available at different shops. If you need the Pup Kin (that's the pup dressed like a pumpkin) it's only available in the Trio set exclusively at Spellbinders.

I'm linking up at Crafty Gal's Corner where it's all about Trick or Treat!


Finished Size: 4.25 x 5.5"
Dies | Spellbinders Buzzy Pup Bee, Scallop and Stitched Edge Oval
Betterpress Plate | Spellbinders Halloween Icons Press and Foil

SPB = Spellbinders
SCB = Scrapbook Dot Com
SSS = Simon Says Stamp

Affiliate links are used to REDIRECT you to the store site of your choice to view or purchase items.
Buzzy Pup Bee
Buzzy Pup Bee
Shop at:
SPB | SCB | SSS
Wolf Or Treat
Wolf Or Treat
Shop at:
SPB | SCB | SSS
Scallop and Stitched Edge Oval
Shop at:
SPB | SCB | SSS
Halloween Icons Press and Foil
Shop at:
SPB | SCB | SSS
Howl O Ween Pup Trio
Shop at:
SPB