

You use your die cut machine to cut felt, paper, faux leather or other flat material and then stitch as you like. The die even cuts the stitch holes to help you have perfectly even stitches and stay inside the lines. You should use a good quality (heavy) felt when you use the dies because the felt tears easily along the edges where the pierced stitch holes are.

I cheated a little bit to make it even easier and here's how.. I used glue to hold the buttons in place before adding the stitching. I glued on the eyebrows, nose and google eyes. The mustache is glued in place after the stitching was added to the felt piece.

I hot glued magnets on the back of my Santa so I can dress up the fridge or the file cabinet in my craft space with my felt masterpiece!

Dies | Spellbinders Felt Vintage Santa
Thread | DMC
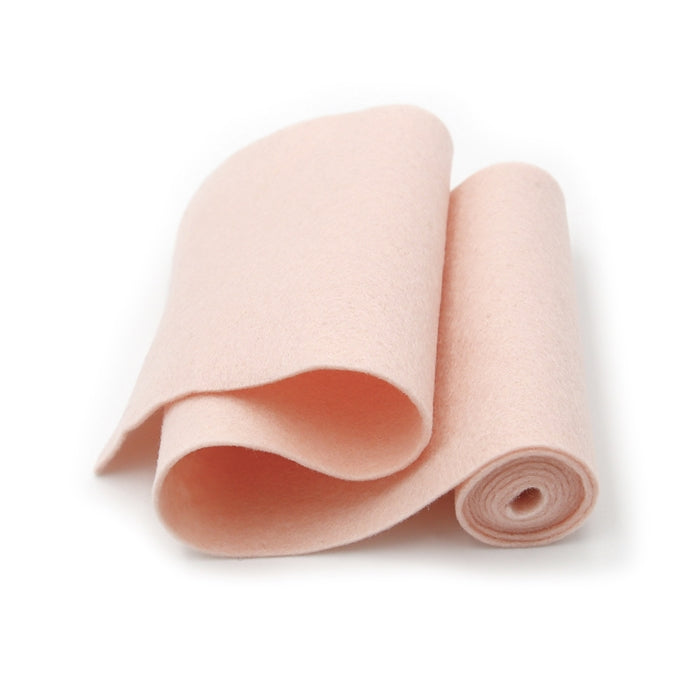
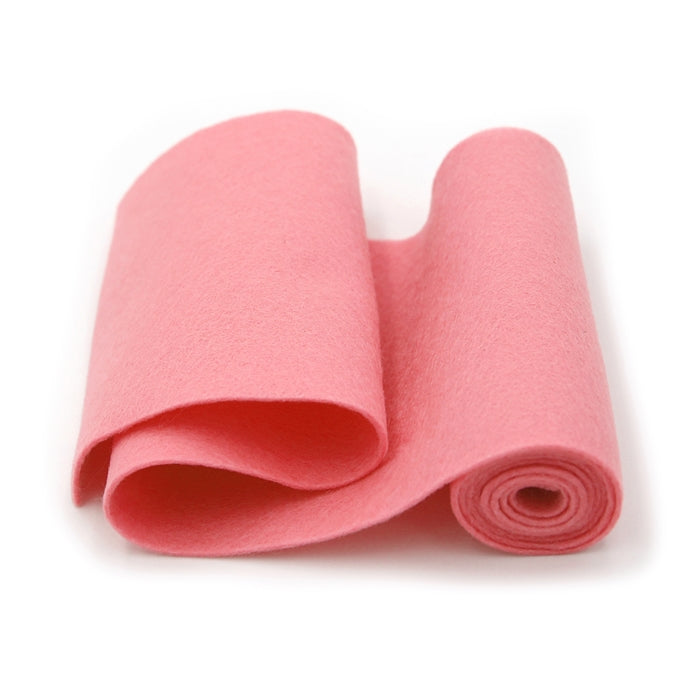
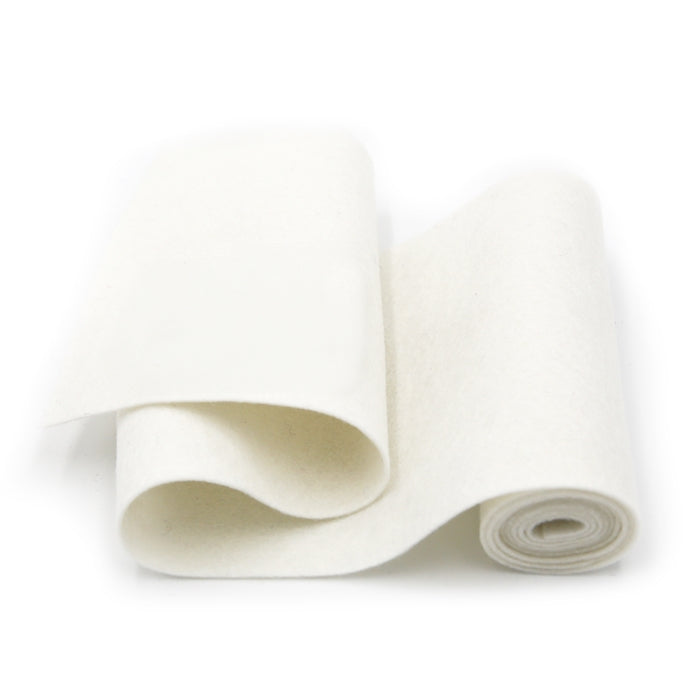
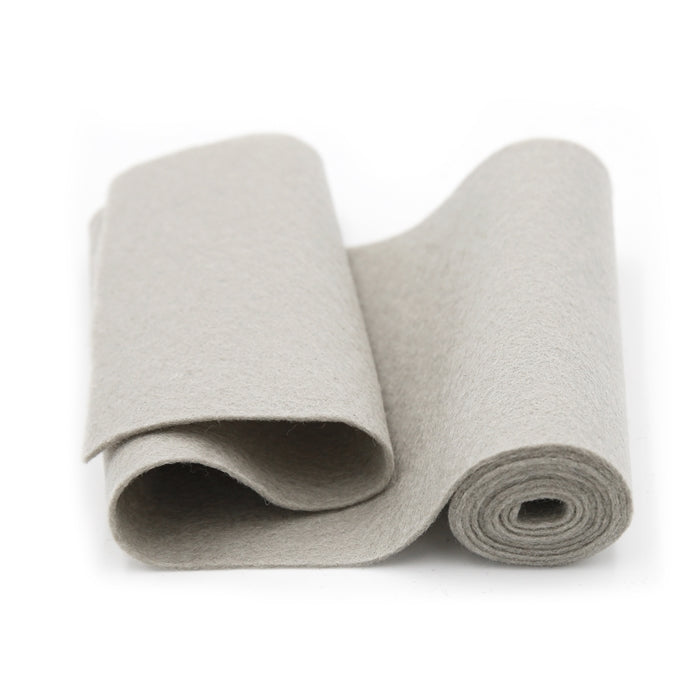
Felt | The Felt Pod
SPB = Spellbinders
SCB = Scrapbook Dot Com
SSS = Simon Says Stamp
FP = Felt Pod
Affiliate links are used to REDIRECT you to the store site of your choice to view or purchase items.




No comments:
Post a Comment
Your comments make me smile! Thanks!!